How to Change PuTTY’s Appearance
PuTTY is a widely-used SSH and telnet client for Windows and Linux hosting. While its default appearance is functional, you can customise it to improve aesthetics and usability. Below are the steps to modify PuTTY’s appearance, including changing the font, window size, colours, and cursor options.
1. Changing the Font
To change the font type and size in PuTTY, follow these steps:
- Open PuTTY and select a session or click on Default Settings.
- On the left-hand side menu, expand the Window section, then click on Appearance.
- Click the Change… button under Font settings.
- Choose the desired font and size from the pop-up window and click OK.
- Go back to the Session menu and save the session to apply these settings permanently.
2. Modifying the Window Size
You can adjust the default window size to make your terminal experience more comfortable.
- In PuTTY’s configuration window, expand the Window category.
- Select Window and adjust the Rows and Columns settings under the Set the size of the window section.
- Save the session to make these changes persistent.
VMware Hosting – ESXi Hypervisor
3. Changing Colours
To change the text, background, and cursor colours, use the following steps:
- In the PuTTY configuration window, expand the Window section, then select Colours.
- Check the box for Use system colours if you want PuTTY to use the system’s theme colours.
- To manually choose colours, uncheck Use system colours and click on each colour name under Select a colour to adjust.
- You can modify the following options:
- Default Foreground: Text colour
- Default Background: Background colour
- Cursor Colour: Cursor’s appearance
- ANSI Colours: Colours used for the output of specific text
- Choose the appropriate colours and click OK. Save the session to apply these settings for future sessions.
4. Customising the Cursor
To change the appearance of the cursor in PuTTY:
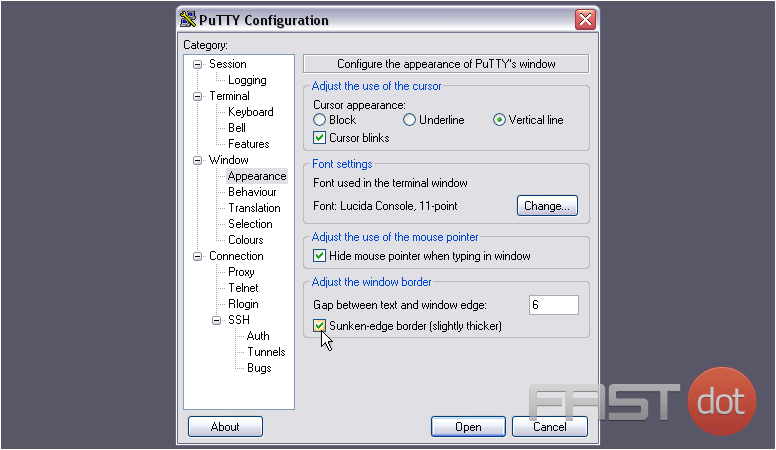
- Go to the Window category, then select Appearance.
- In the Cursor appearance section, you can choose from:
- Block cursor
- Underline cursor
- Vertical bar cursor
- You can also set the Cursor blinks option for a blinking cursor.
- Once the desired appearance is selected, save your session.
5. Transparency and Scrollbar
Although PuTTY doesn’t natively support transparency in Windows, you can adjust the window size and scrollbars to optimise your interface.
- Go to the Window section, and click on Behaviour to adjust the scrollbar options.
- You can change the Scrollbar appearance to either display it always or hide it during operations.
Final Steps to Save Settings
Once you’ve made your customisations, go back to the Session menu and select the appropriate saved session or click on Default Settings, then click Save to ensure these settings persist for future sessions.
By following these steps, you can fully customise PuTTY’s appearance to match your personal or professional preferences, enhancing readability and overall user experience.
How to change PuTTY’s appearance
If you’re going to be using PuTTY a lot, you’ll probably want to customize its appearance to what you like best. PuTTY has a number of settings that allow you to do this
1) Once you have PuTTY open, load a session from the menu
2) Then, go to Appearance
The first settings here allow you to adjust the cursor’s appearance
3) The default is Block, but you can change it to one of the other two, if you want. We’ll pick Vertical line
4) Click this checkbox to make the cursor blink
5) Now, for the Font settings
6) Click Change…
7) Select a new font from the list. Only monospaced fonts will show up; these are fonts whose characters are all the same width
8) Change its style, or just leave it set to Regular
9) Adjust the size to something a bit bigger
10) Then, click OK
Notice… the font name and size listed here has changed
11) Mark this checkbox to hide the mouse pointer when typing
12) Last on this page, you can adjust the appearance of the window border. Use this value to control the size of the Gap between text and window edge
Feature-rich WordPress Hosting in the Cloud
13) To display a sunken edge border, click this checkbox
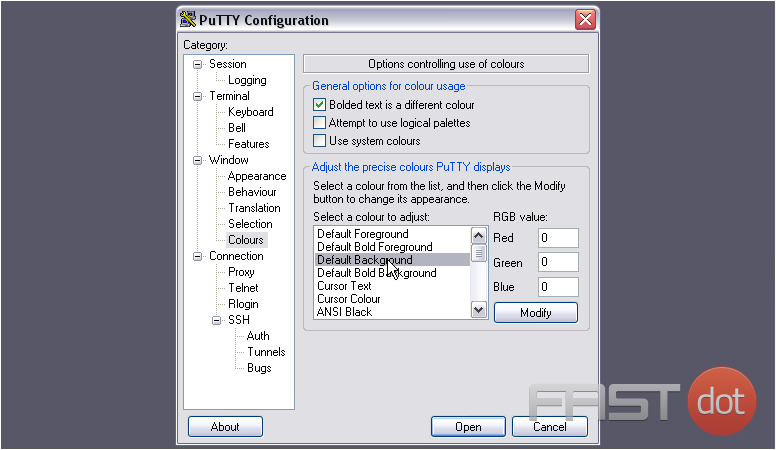
14) Now, go to Colours
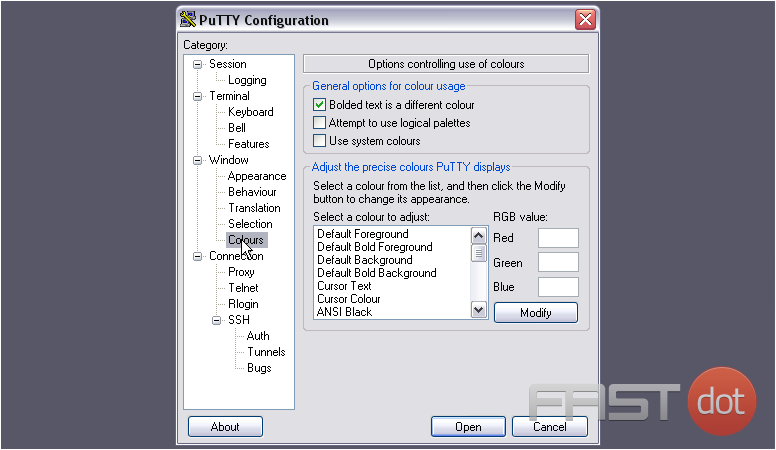
Let’s change the background and foreground colors
15) Hit Modify
16) Choose a Basic color, or pick a custom color using the tool at right. Let’s use white
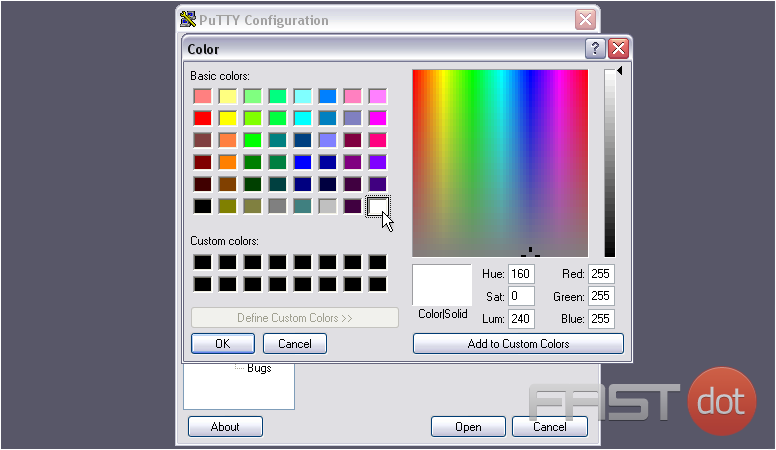
17) Click OK
18) Now, for the Foreground color
19) We’ll pick Black for this
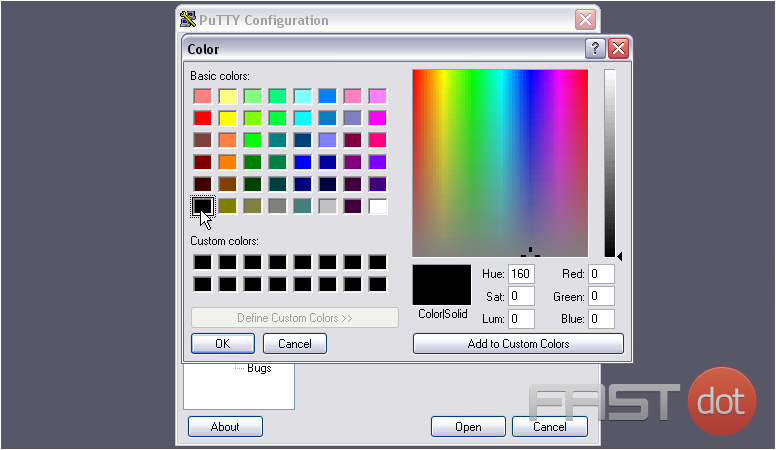
Feel free to change any other colors you want
20) Now, return to the Session page
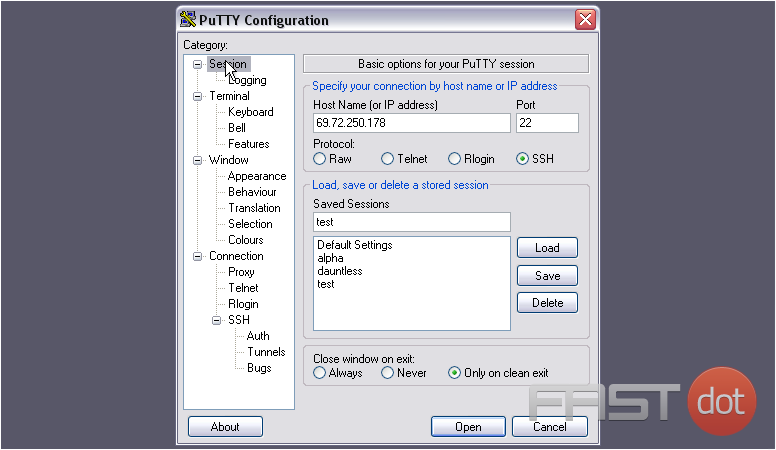
21) Save our changes to the session
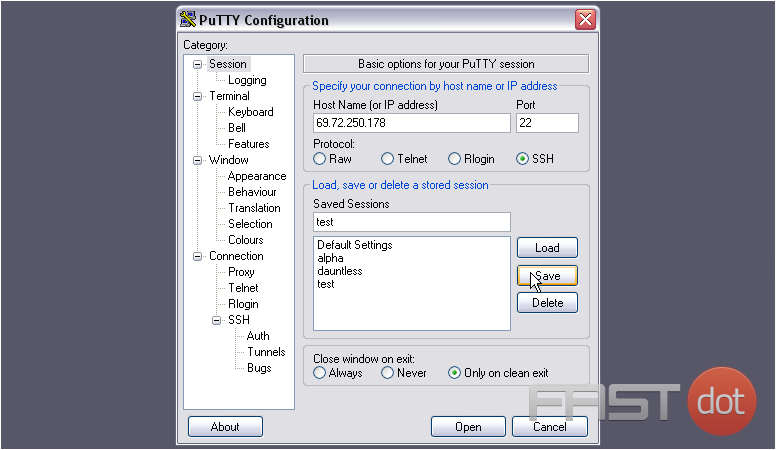
22) Then, press Open
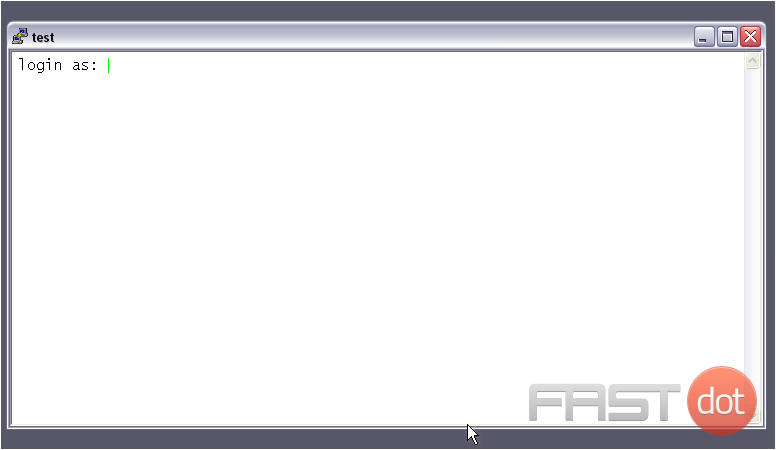
You should notice that this looks quite a bit different than it does with the default settings
That cursor color is a little bright on a white background. You can change it with the Colours settings, where we just were
23) Log in
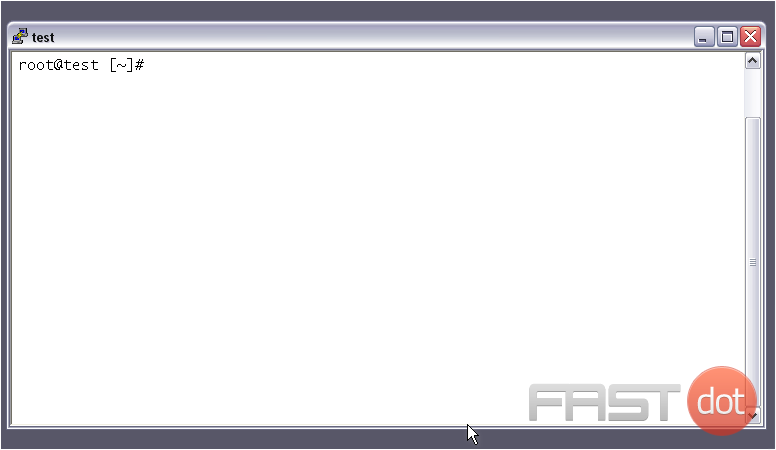
24) Test out a command
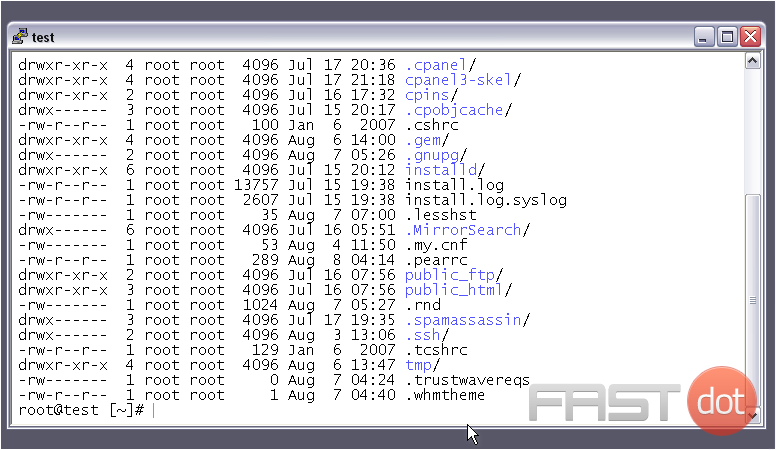
That’s it! You now know how to change PuTTY’s appearance